| Home> Oiire > Quince Handle Making |
|
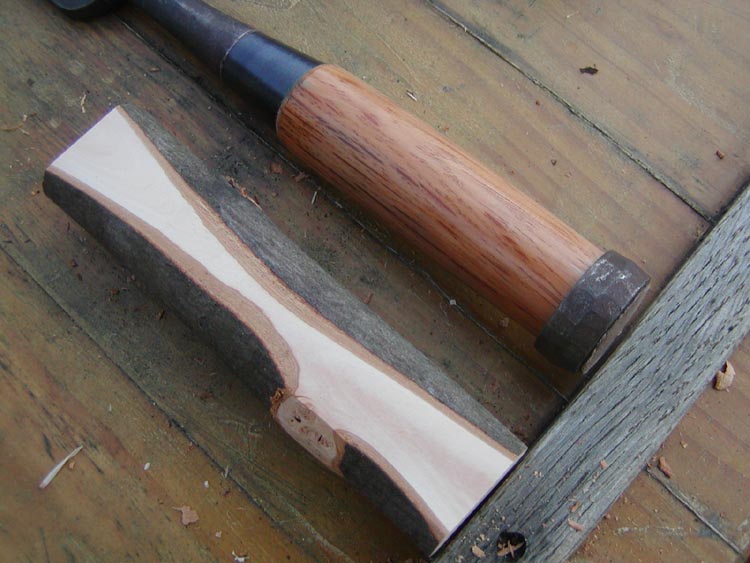
While I wait for the hammer handle to dry, I'll make a handle for the newly arrived Masanari chisels.
As I was sharpening one Masanari upon request from one woodworker who has ordered it, I realized something wonderful. The steel is not White Steel #2.... It's White Steel #1! I asked my friend what he thinks, he didn't guarrantee it, but he said "If the maker was clear, I'm certain this chisel can be sold for $110 (in Japan)." Of course I instantly asked to keep all the remaining stock, BUT he says there are only 4 more left. I got the remaining 4....
Day1
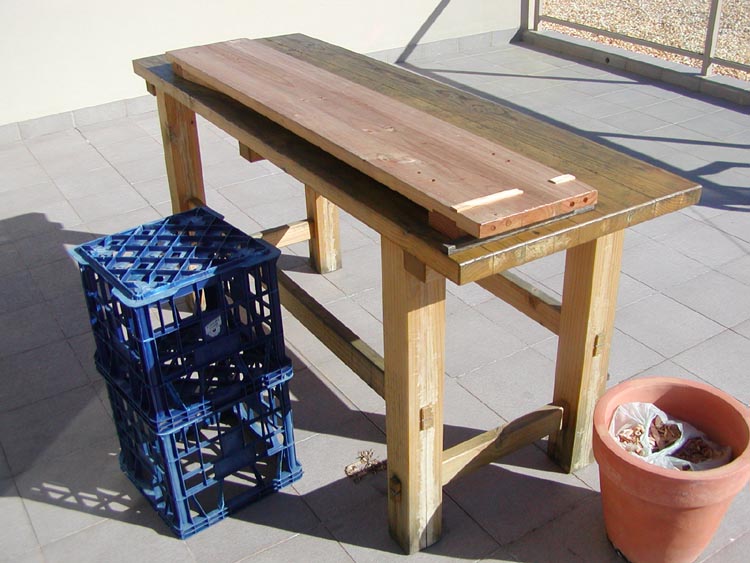
My work area. No roof, so no work when rainy....
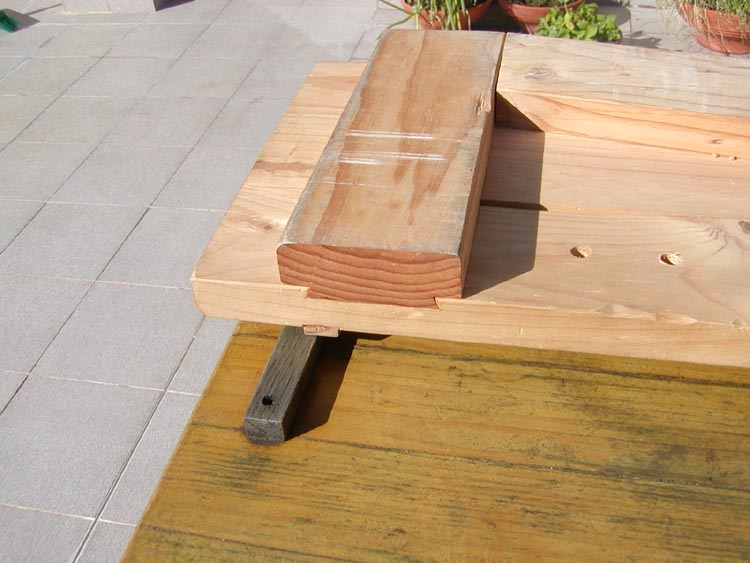
The planing board has sliding dovetail inserted to prevent warping. Both planing board and the workbench are made from construction grade timbers I found in the dump.
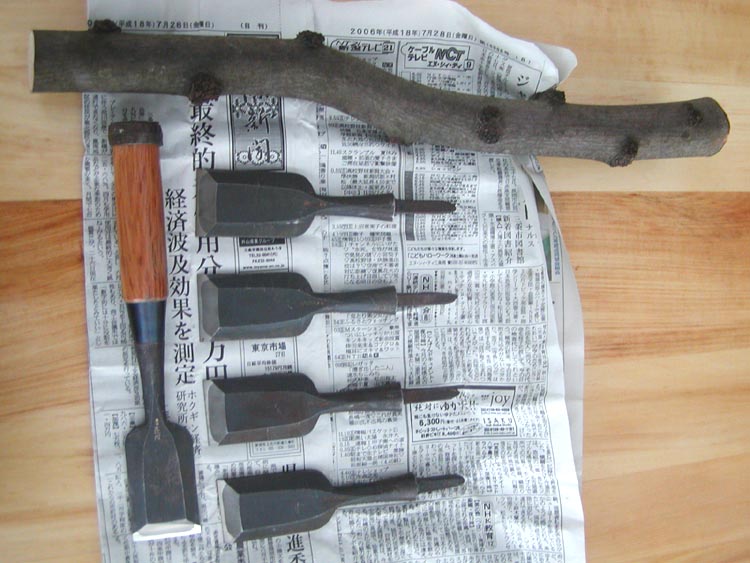
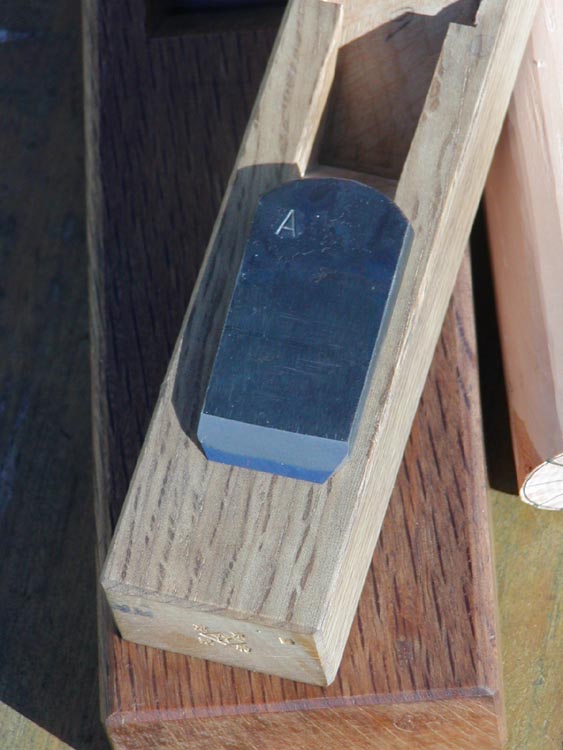
4 chisel heads without handles attached.
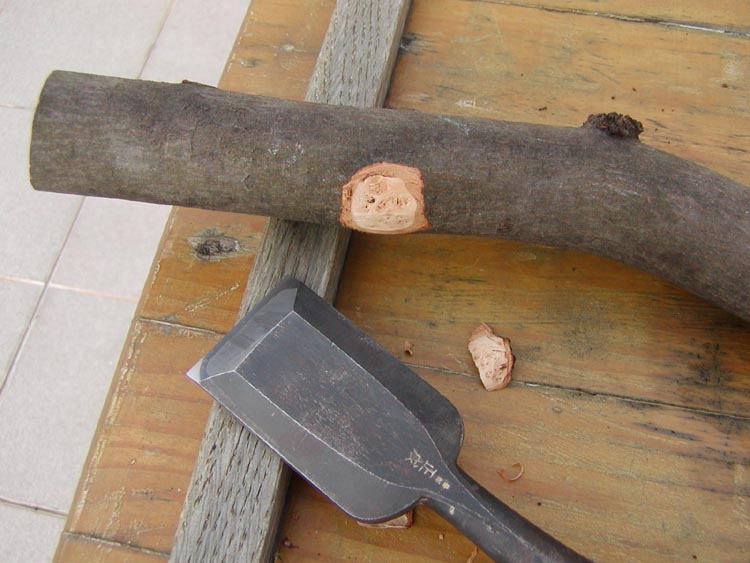
Using Masanari to make a handle for Masanari(^^)
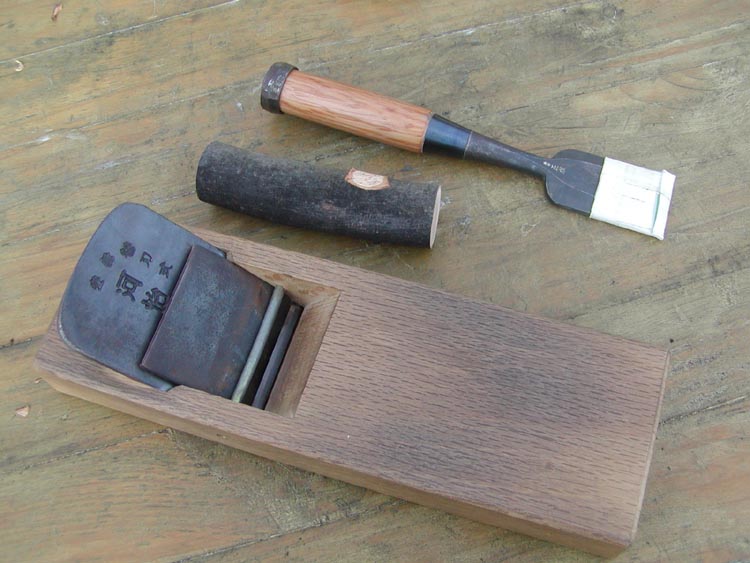
Since I don't have any machine at all, I heavily rely on this guy for arashiko (rough planing). Kawayoshi replaceable blade kanna.

It works exactly the same as normal kanna. But you can exchange the blade when it gets blunt. I re-sharpen the blade using the jig (supplied by the maker) like 30 times before it gets unusable so it is very economical.
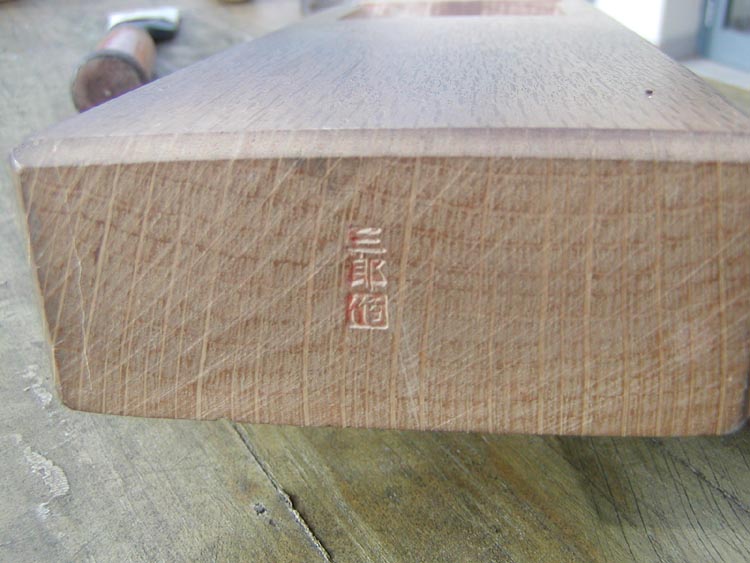
The dai is even made by a master dai maker Nishimura-san and Inomoto-san. This one is by Nishimura Yuichi. The stamp reads Saburou saku (Made by Saburou. Saburou is Nishimura-san's blacksmith name.) This plane was designed to be used for finish planing. It'll easily go sub 10 micron.The steel is a very hard alloy, so it last seriously long, although it is quite hard to sharpen.... But it's really thin so it's okay.
When the blade is not set thin enough the wood would easily scrape.
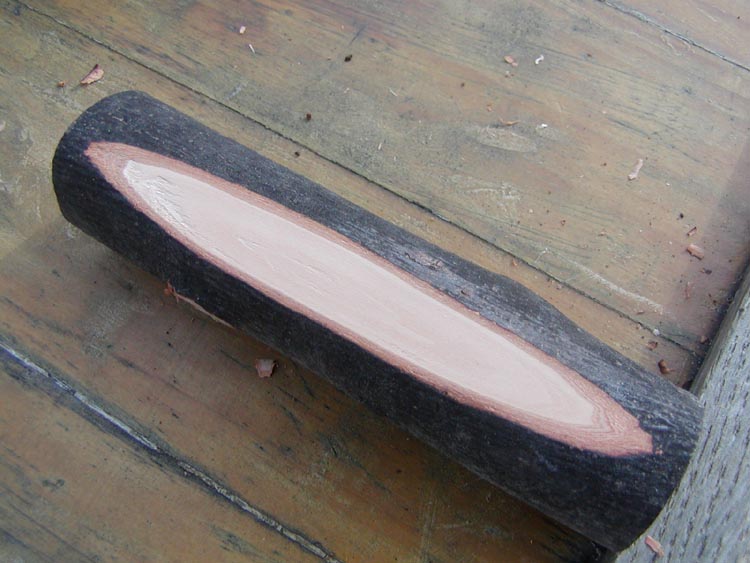
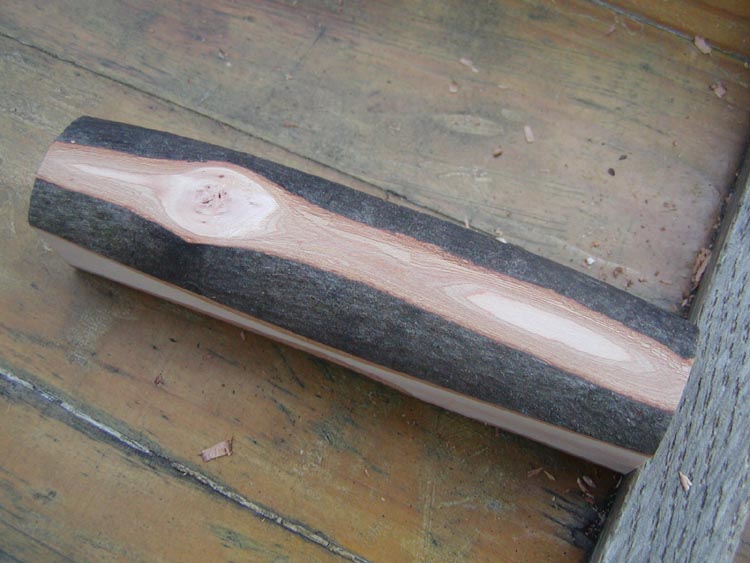
Somehow managed to make it smooth.
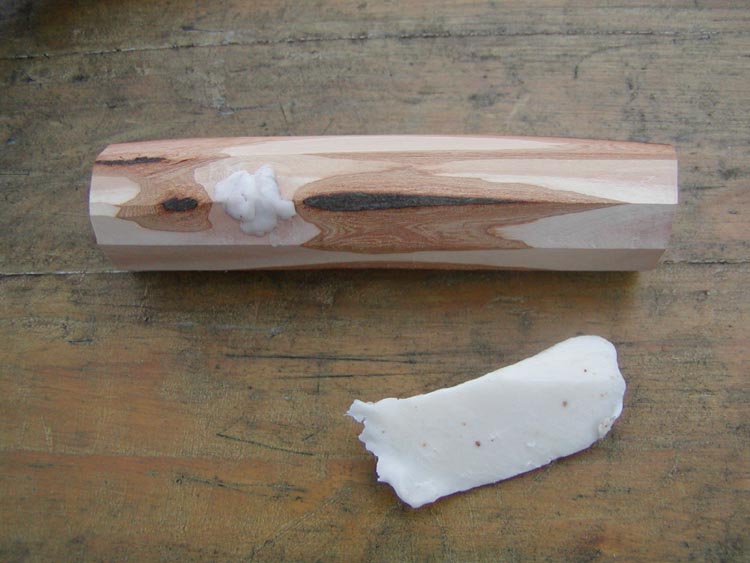
Put some wax on the knot so it won't start cracking. I surf so this is a board wax. Winter soft coat (^^)
That's it for day 1.
Day 2
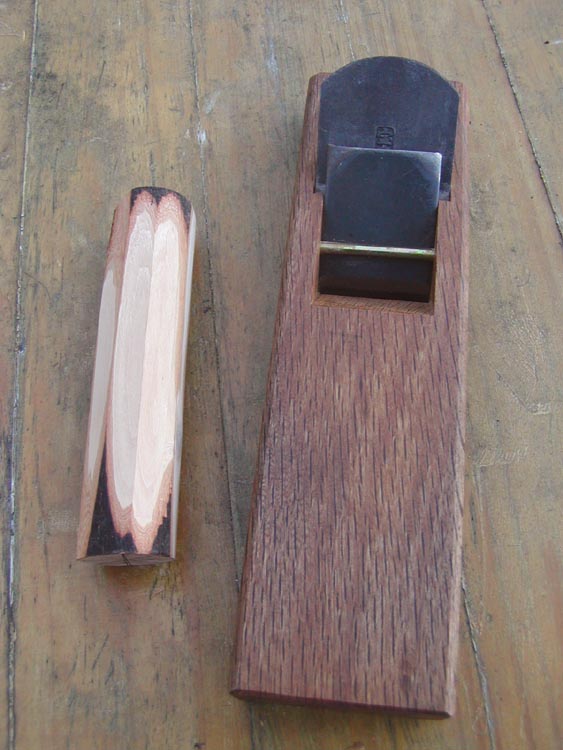
Now for more fine shaving. Yokoyama 36mm Blue Steel #1 ko-ganna (small plane) ~~~~~! Mei is Housen (spring of treasure). Dai is light coloured red oak, made by Nimura-san.
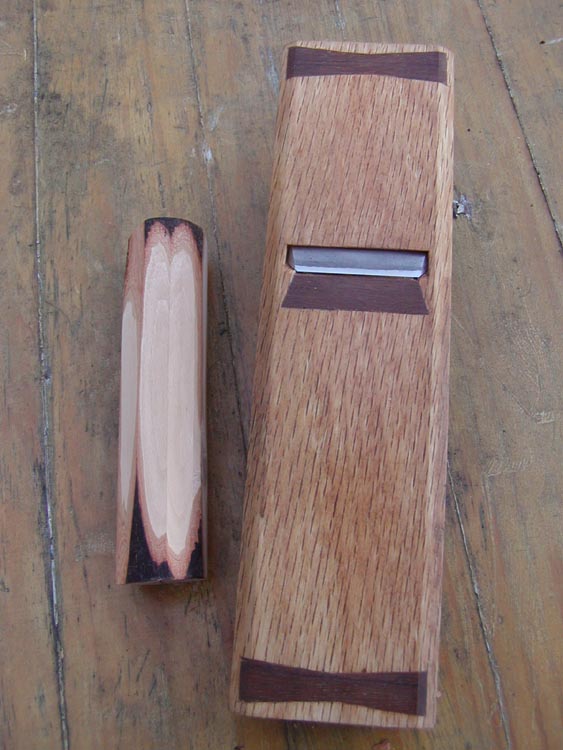
The sole is adjusted using hardwood I picked up from the dump.... Since ko-gannas are used to shape things, it tend's to get concaved in the centre, so reinforcing as shown is a very usuful technique.
The blade is still in the process of fixing the too acute angle. I can't hand sharpen until there is a bit more beveled area created. The jigane (base iron) is very soft kamaji. There aren't many small planes using kamaji for ko-ganna. Definitely not for the price of this plane.
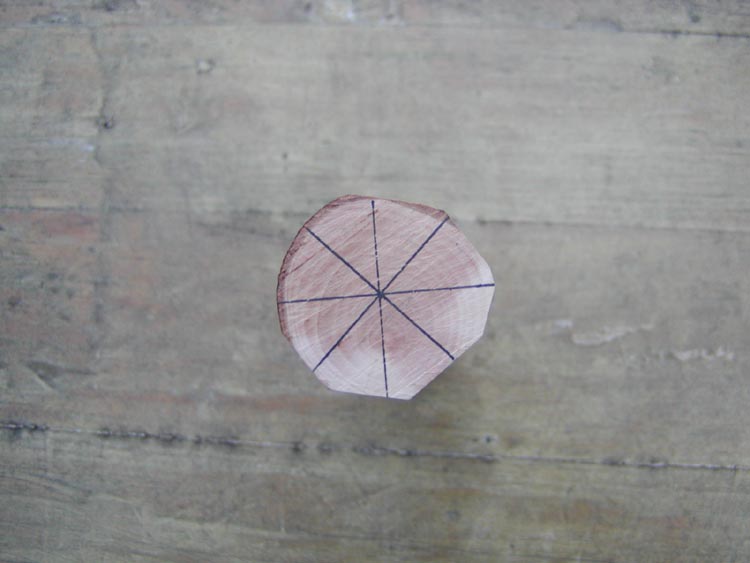
Marked the line using an almighty 10c coin I keep lying on the ground. This coin I use for so many things.
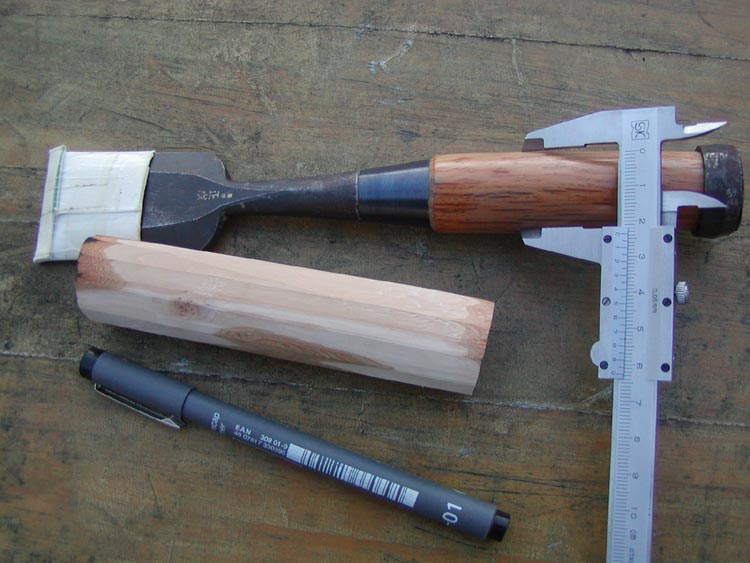
Check the width.
Roughly starting to take its shape. Done of day 2.
Day 3
Now for smallest kanna I have. Tokyo Kunihide 18mm Blue Steel #2. You are wondering if this little fella is also laminated?
Of course it is laminated!
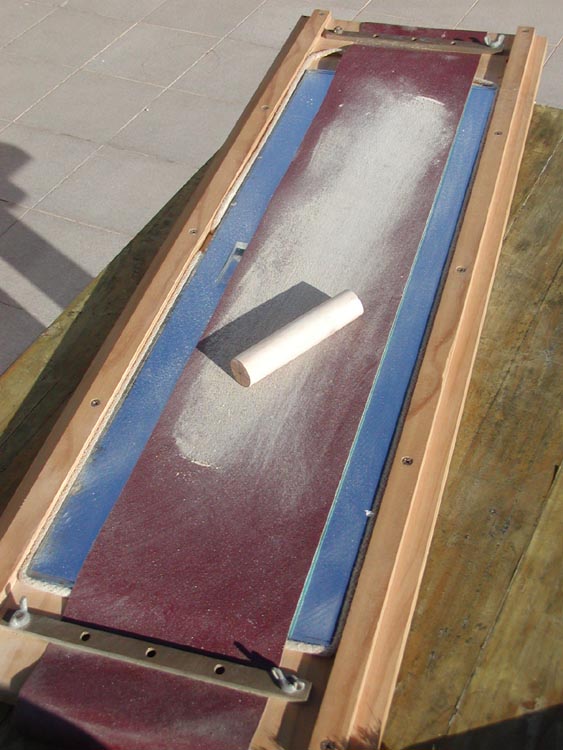
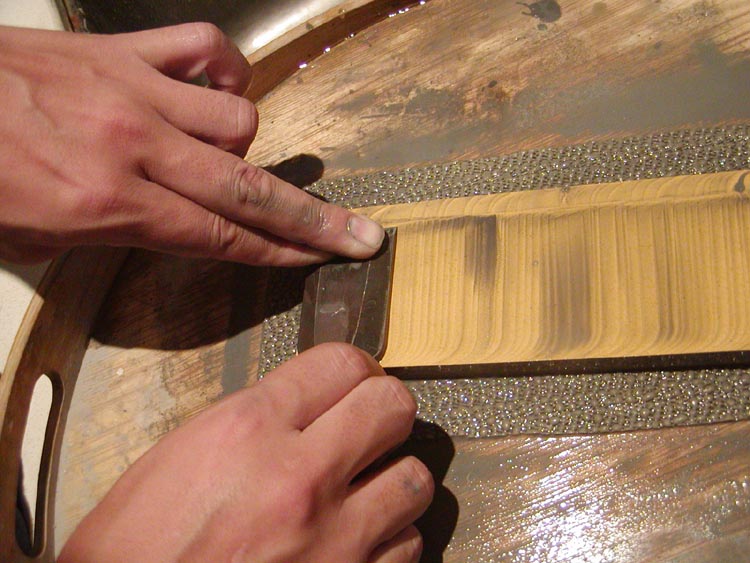
Sandpaper over mirror (Handmade). I ues this to adjust the sole of the dai of kanna.
Nicely sanded.


Mitsukawa Jyuntaro small saw set. $250.
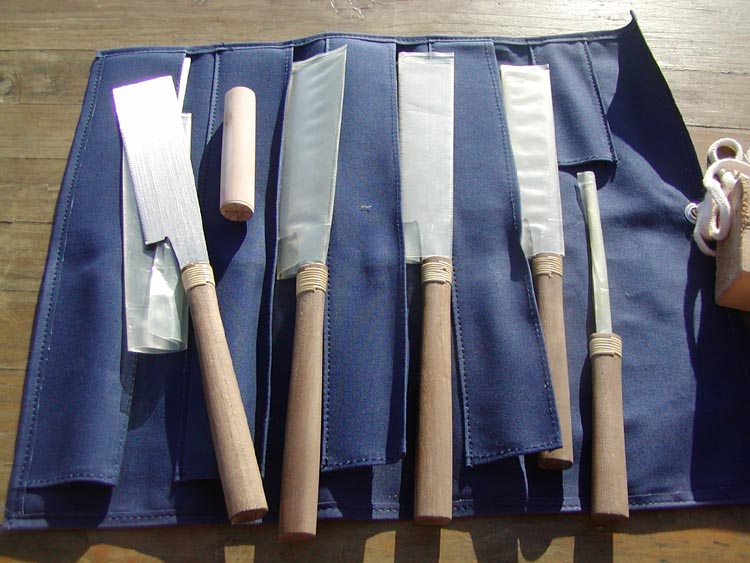
Various tooth.
Fine tooth, similar to dozuki but without segane (the spine).
Look how thin the kerf is. Jyuntaro's stamp on the saw blade. That's it for day 3.
Day 4
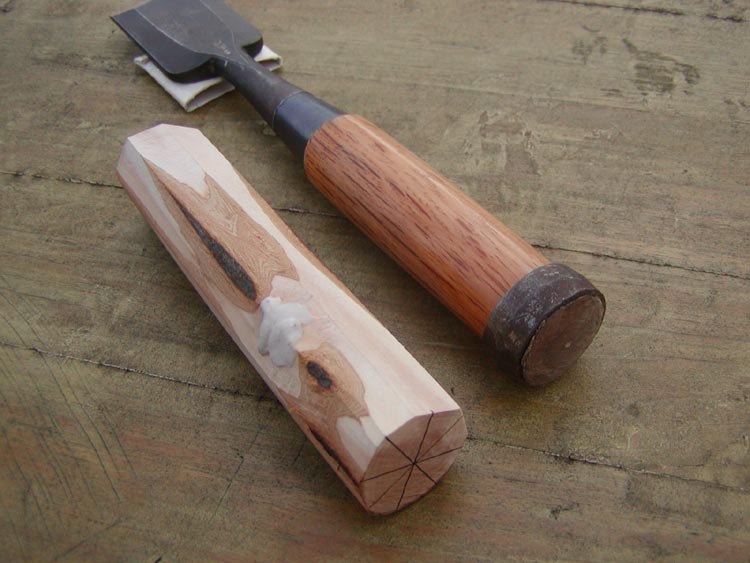
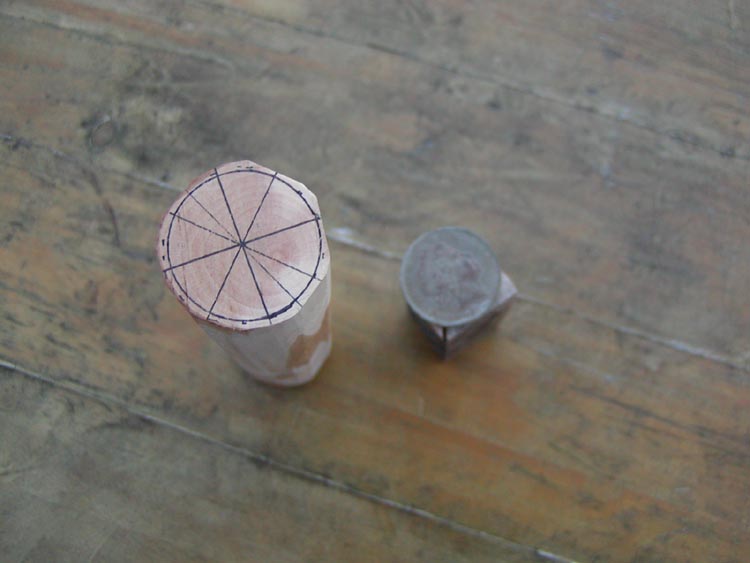
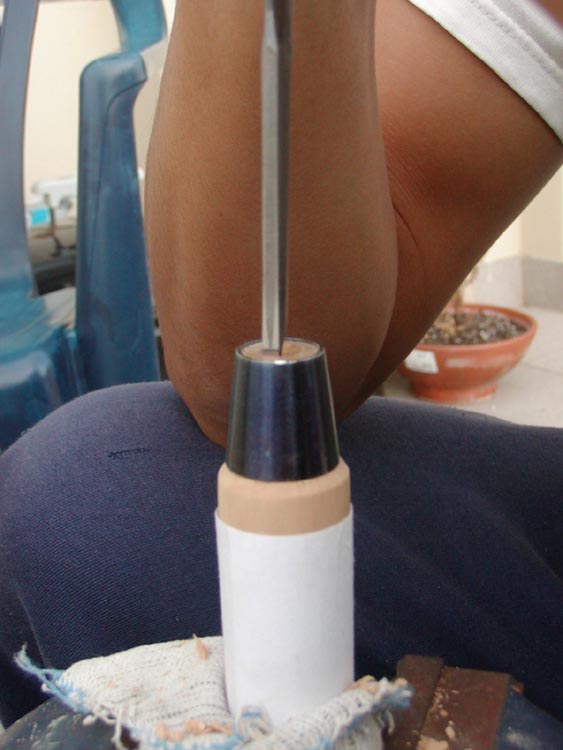
Now to fit the kazura (hoop) and the kuchi-gane (ferrule).
Since I don't have any machines everything is done by handtools. I gradually carved the conical shape, and checked where it is touching by putting the kuchi-gane (the ferrule) on twisting and marking the protruding spots. You can see the black mark. That's where I will shave little by little. Of course the professional handle makers don't make handles this way! One thing for sure, I cannot make chisel handles for money....
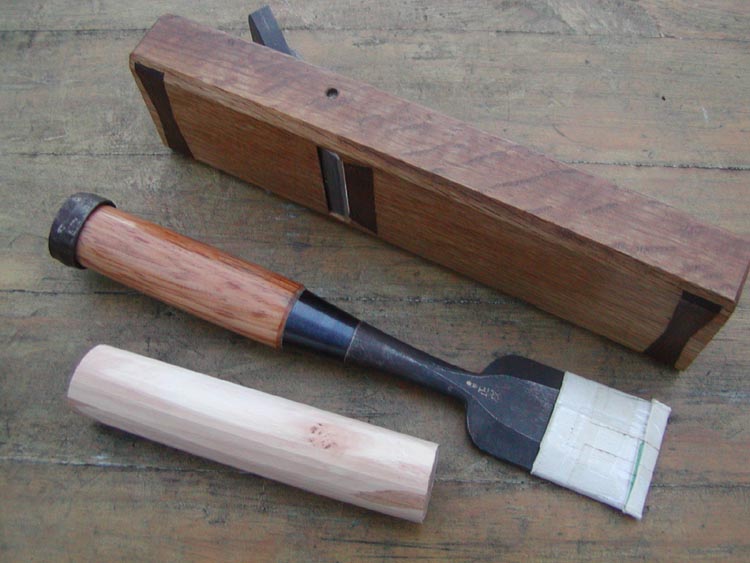
After a while the fit is snug. I left the knife mark on the chamfer around.
This is how it looks with out the hardwares.
The shaping is done. Next is to drill a hole to insert the tang of the chisel. That's it for day 4.
Day 5

Drill a hole in the centre. This tool is called kiri in Japanese.
This one is Arai's kiri. The best one even has hollow on each face of the tip, so that it is easy to sharpen.
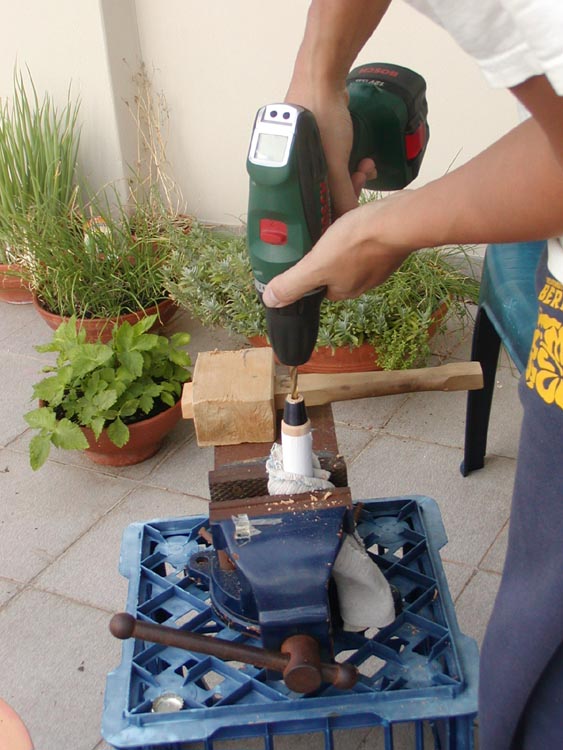
Make sure the hole is in the center. It is better to have someone checking from the side as well if you are doing it free handed.
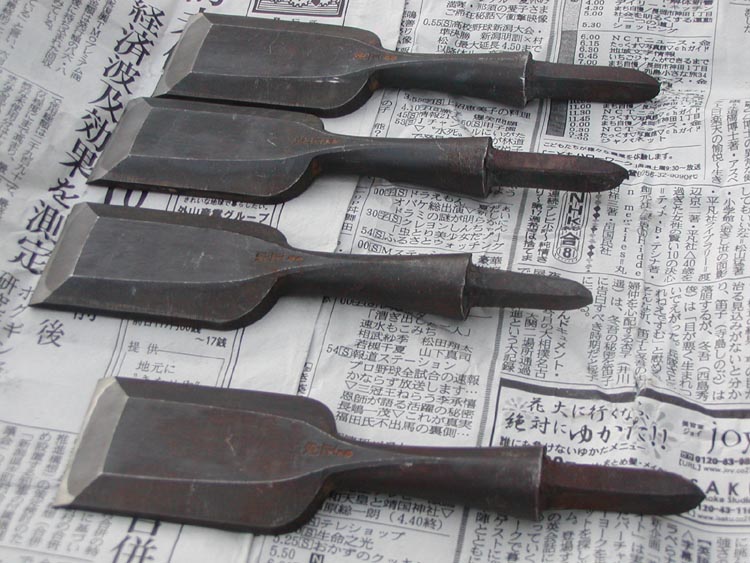
4 more left.
The center came off slightly so fixing with a 3mm chisel. This is Tasai
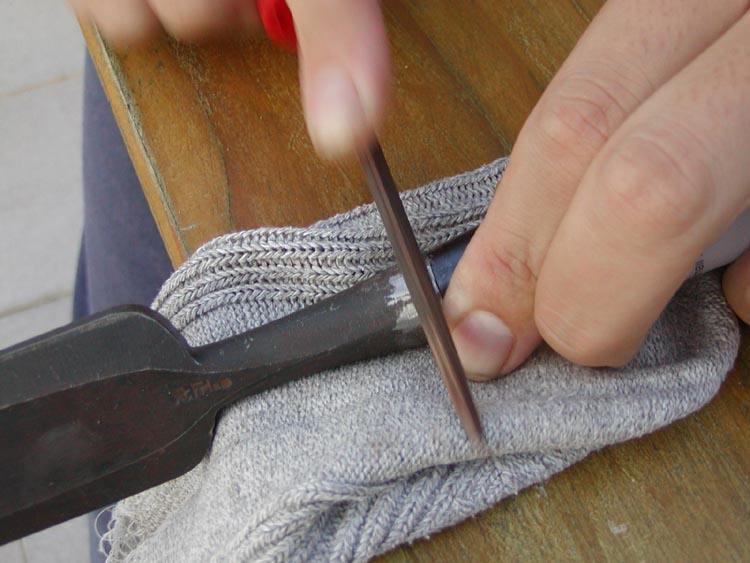
The joint line wasn't flush, and I didn't like that so I deciede to file a bit. But later I realized that all I had to do was to gring the ferrule! Oh well.... I'll try to rust it and make it black.
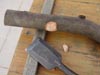
Fixed the tang and made it straight. You'd need an anvil to fix the tang.
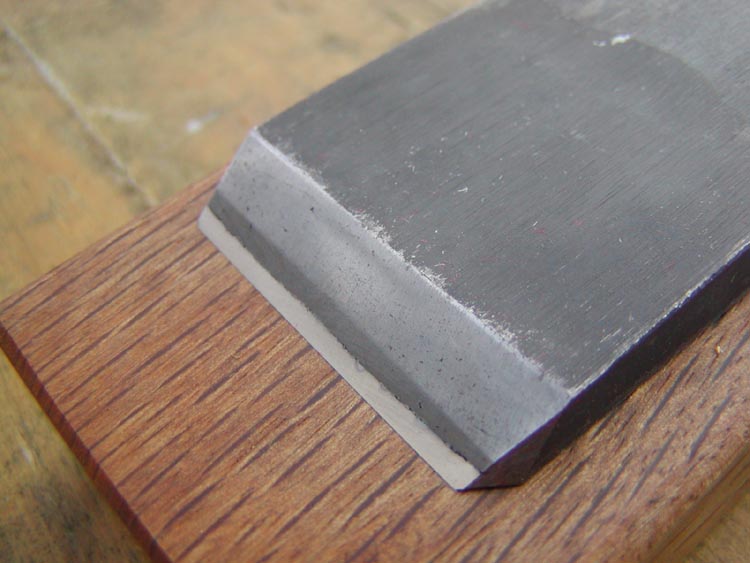
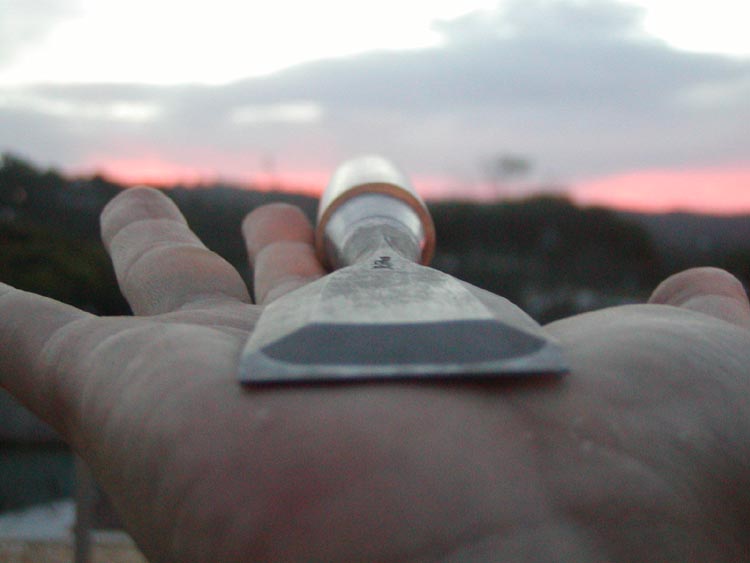
Uraoshi & Sharpening. Masanari is quite warped, and the tip of the blade is 1mm thick, so it takes lots of effort to make it sharp. That's it for day 5. Almost done.
Day 6 ~ 10
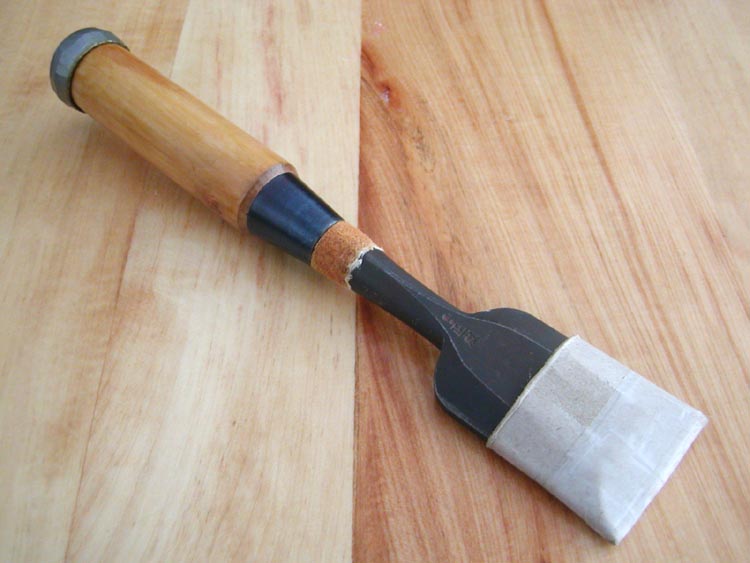
Getting the oxide film back on. Just by applying salt water, the water would be repelled so I wrapped a layer of tissue paper and let it absorb the water. This way, the rust will form evenly. I apply the salt water couple times a day when the tissue gets dry.
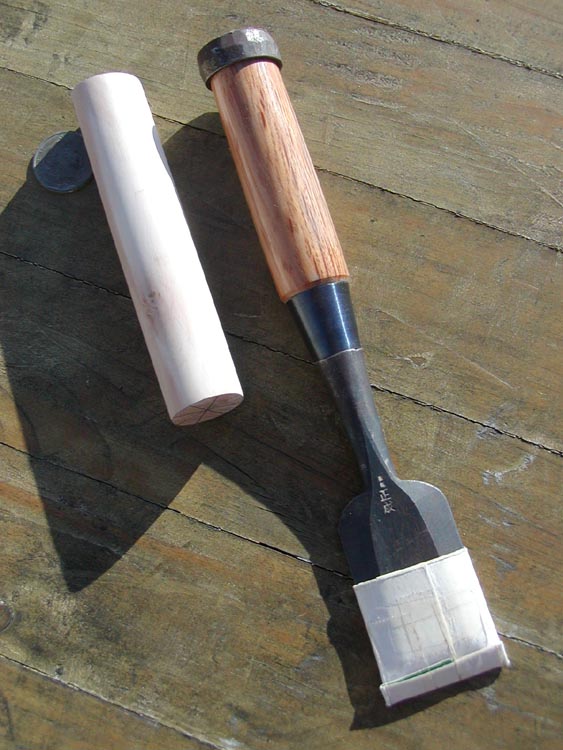
Oh, and the handle is French polished. I wanted to keep the snow white colour but it gets dirty so easily, I decieded to coat it.
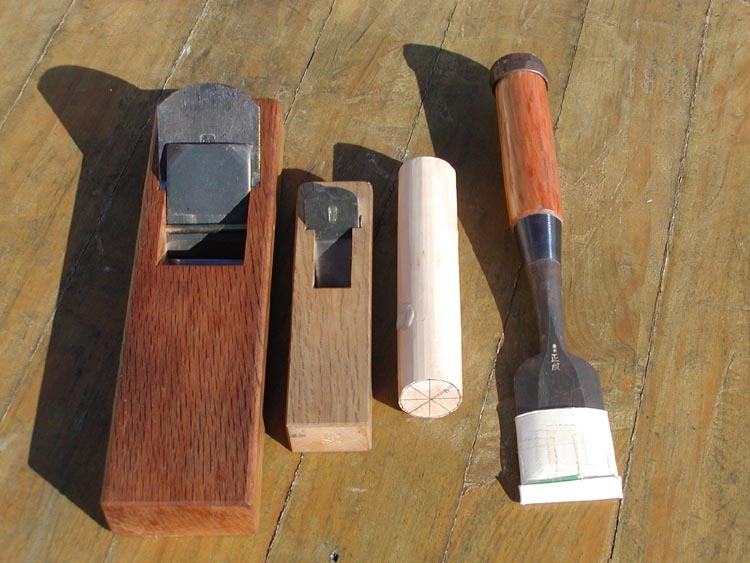
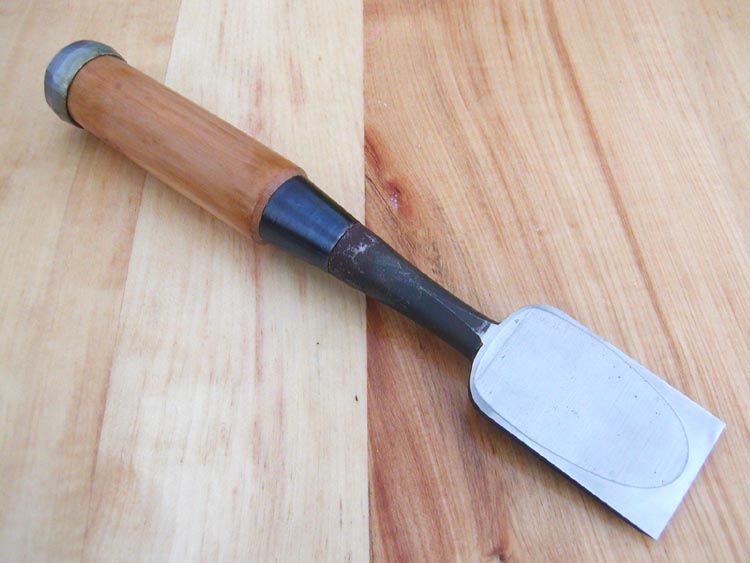
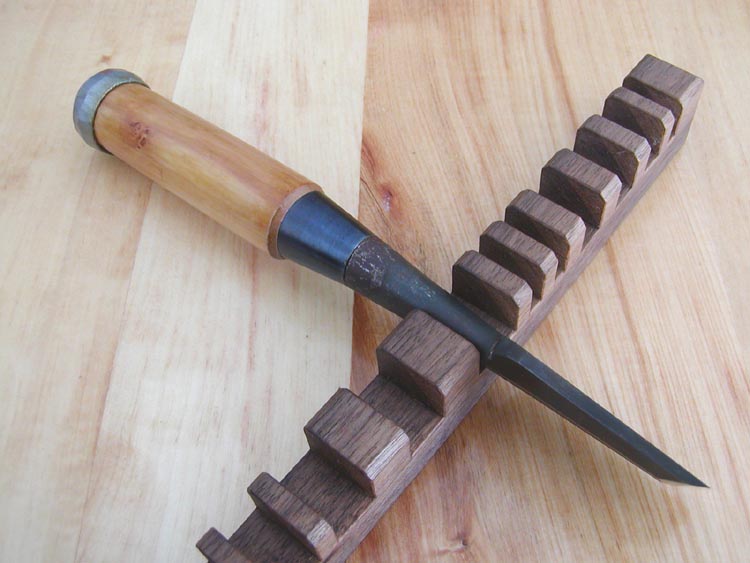
Complete!
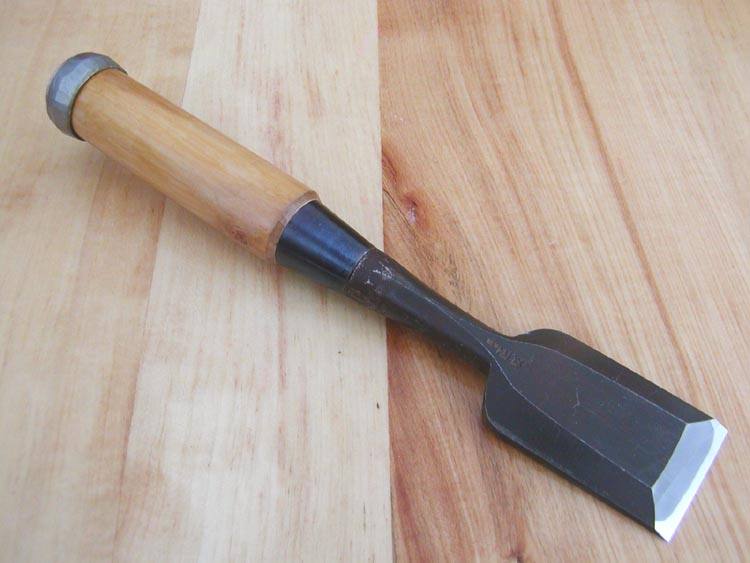
The oxide film is not complete yet, but I like the customized look so I think I'll consider it to be complete. The front bevel is sharpened and polished. The angle decreased from 24 to 27deg.
Uraoshi done.
It was really fun making this handle. I have been bombarded with emails lately, but this handle making and surfing barely kept me sane(^^)
Thanks for reading, and I hope you enjoyed the process. There are two more of Masanari without handle attached left so anyone who wants to try this you'd better be quick.